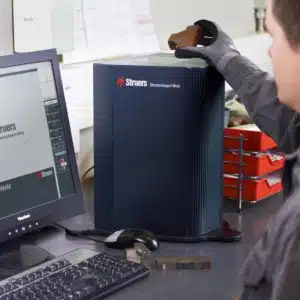
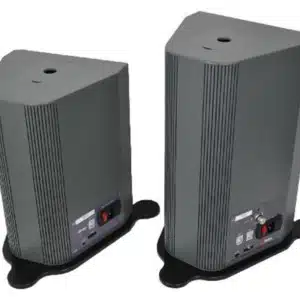
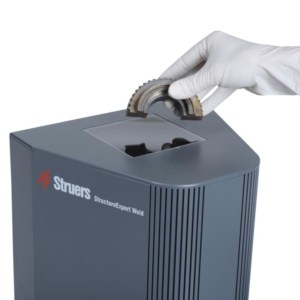
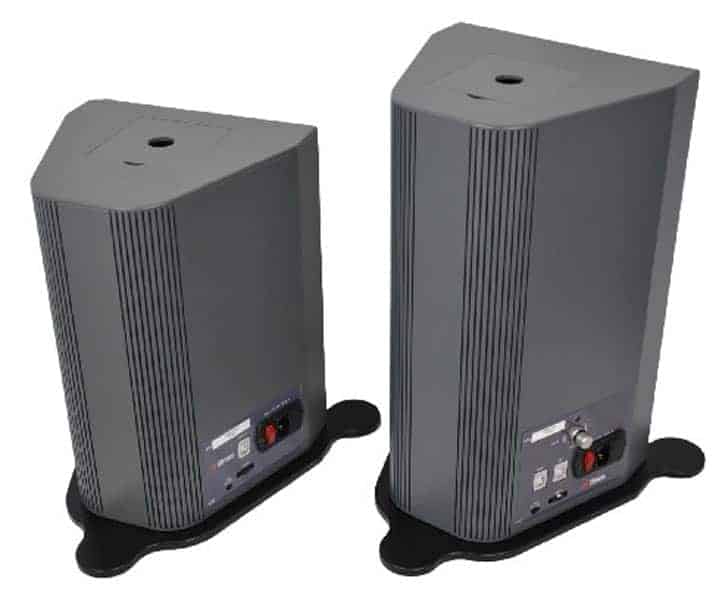
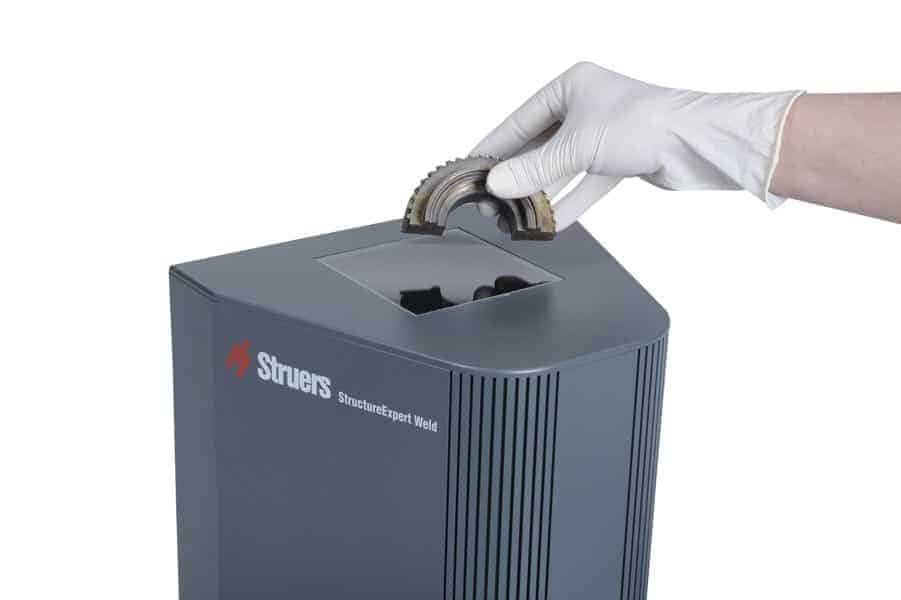
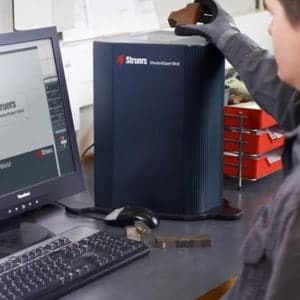
A dedicated imaging system for cut and etch weld inspection & weld beads measurements.
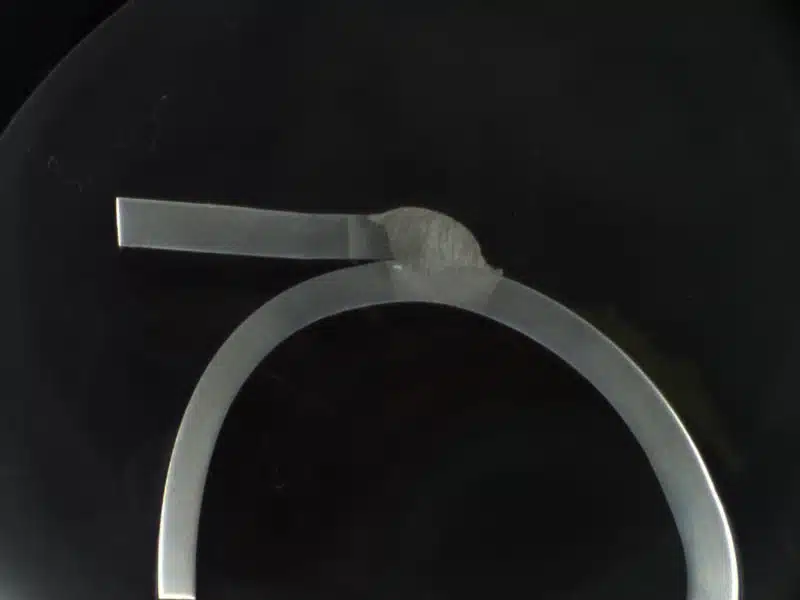
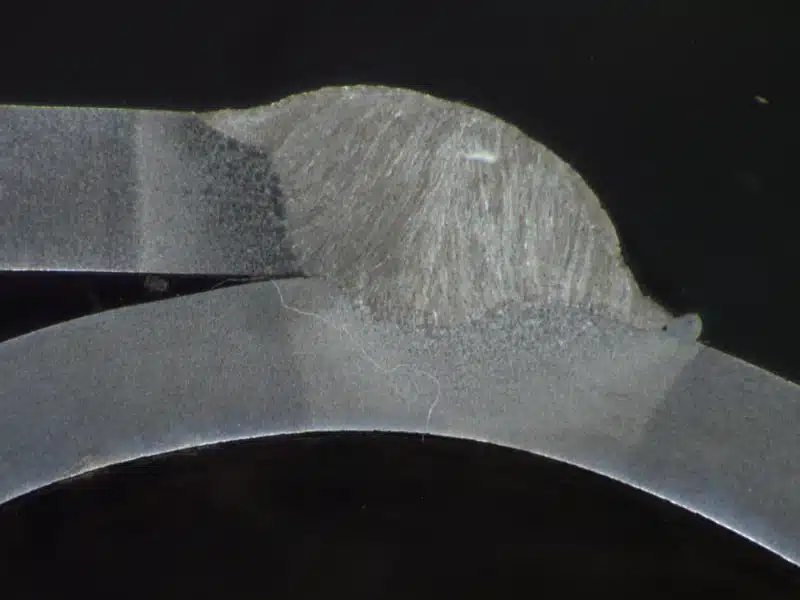
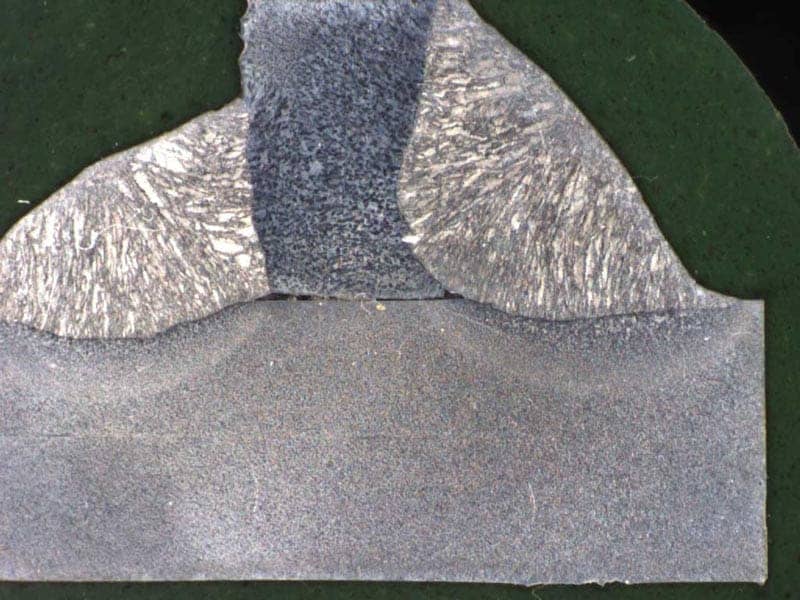
- Cut and etch weld inspection
- Applications: Automobile, MIG, MAG welding etc…
- Magnification range: 2.5x to 50X
- Field of view: 80 to 4.5mm
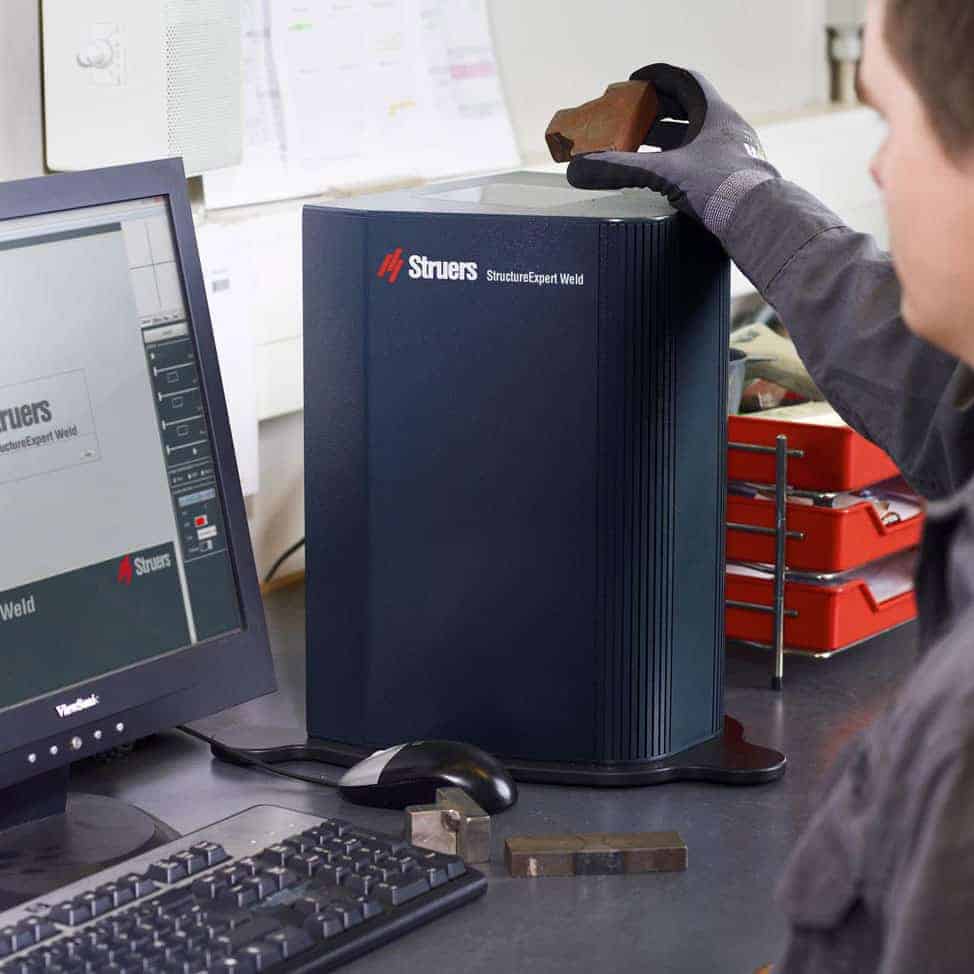
The StructureExpert Weld-5 system consists of imaging hardware and a software package that is totally dedicated to weld seam analysis and measurement.
The StructureExpert Weld imaging hardware was conceived and designed to simplify weld bead measurement in quality control laboratories.
Weld bead measurement has never been so easy!
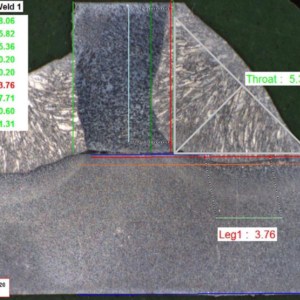
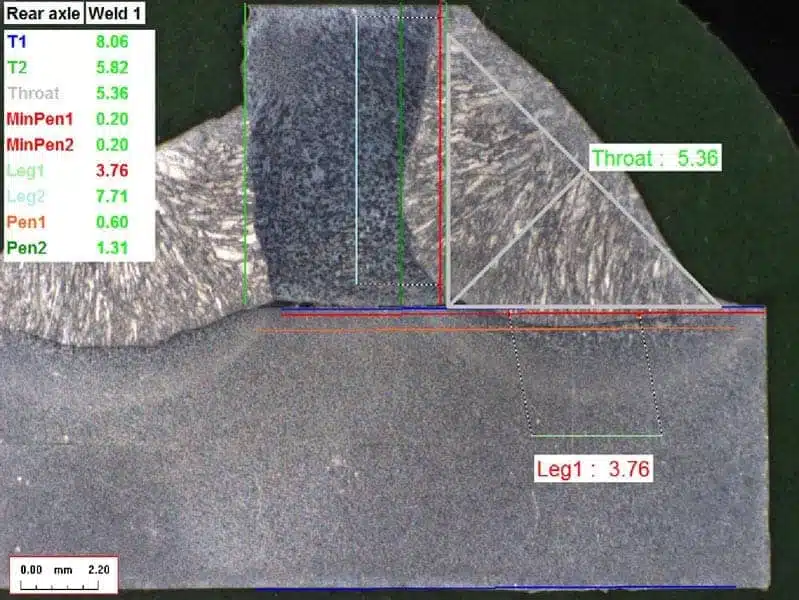
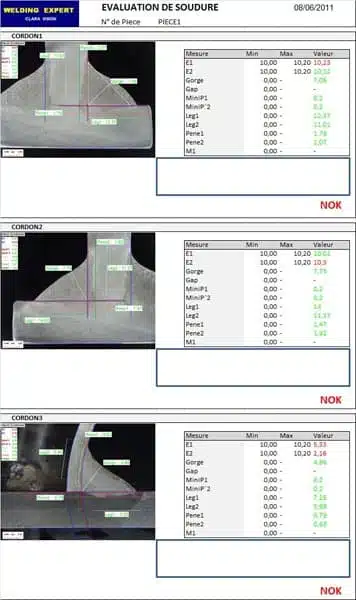
You just need to prepare a cross-section of your sample (welding macrography), and in just a few clicks you will have your image, your measurements, an archive and a detailed welding bead measurement report.
About Weld inspection and measurement StructureExpert Weld-5
Key features of the StructureExpert Weld (Welding Expert) system:

- Automatic calibration: The system auto-calibrates in a few seconds, making manual operator adjustments unnecessary.




- Motorised zoom and automatic focus: for maximum flexibility in selecting a perfect field of view for all measurements, and guaranteeing high quality images.
- A software package that is 100% dedicated to weld analysis and measurement: no compromises with StructureExpert Weld (Welding Expert) software.
- Powerful optional modules make the StructureExpert Weld (Welding Expert) system a unique, indispensable tool for weld bead quality control.
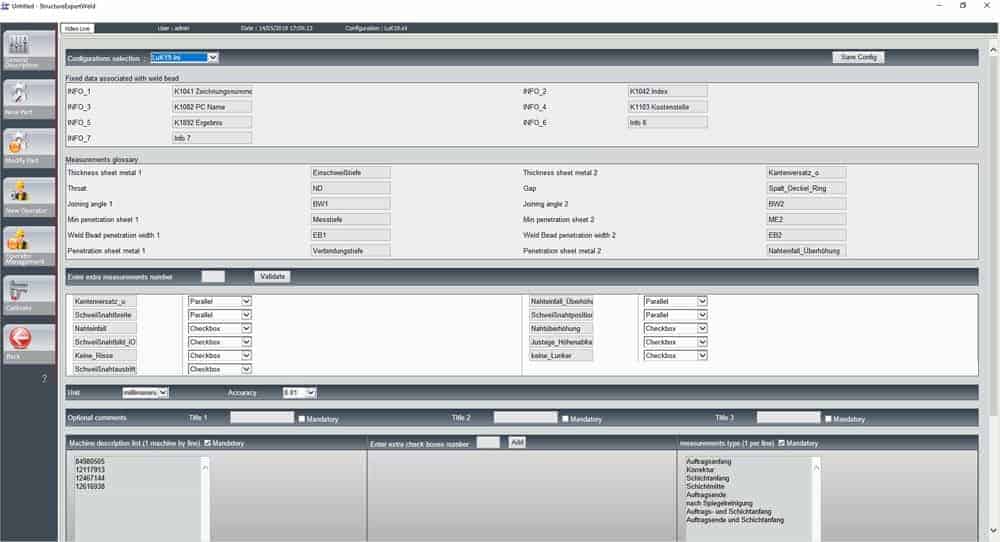
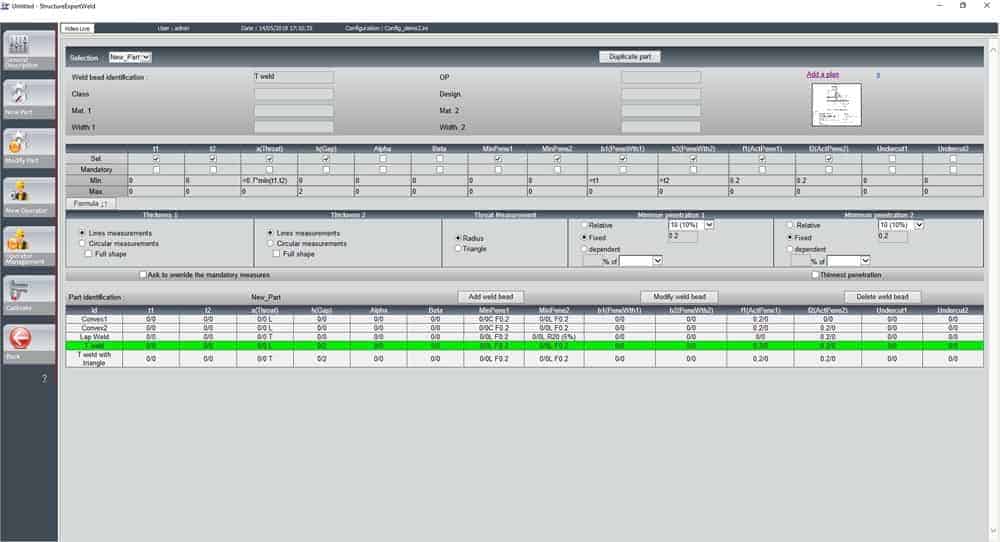
The StructureExpert Weld (Welding Expert) software's "Administrator" mode is the operational heart of the system. The software can be entirely customised, making it possible to set up parameters to comply with any and all welding control standards:
- VW 01106-1, VW 01106-3, Renault 34-05-012, Renault 32-00-014, PSA B13 1540…
All of the parts that are to be checked are created in Administrator mode, along with all of the welds to be measured.
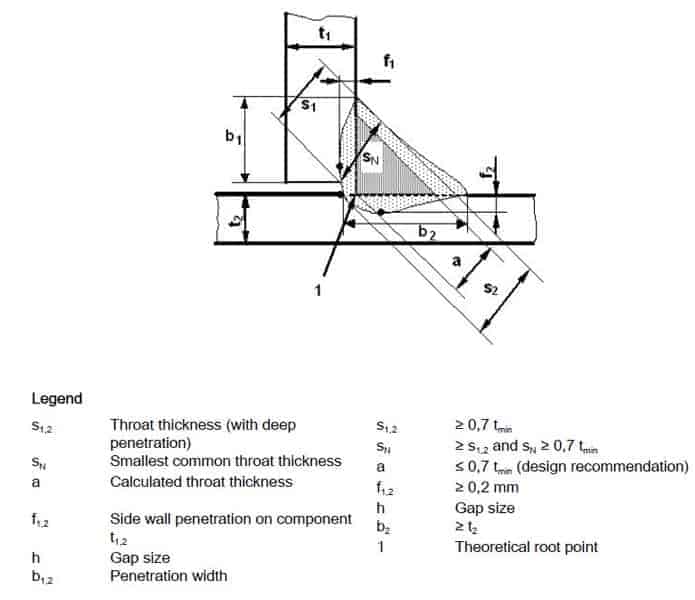
You can: Specify the type of measurement to be taken on each of the weld beads, indicate the measuring tools that will be used, define tolerances...
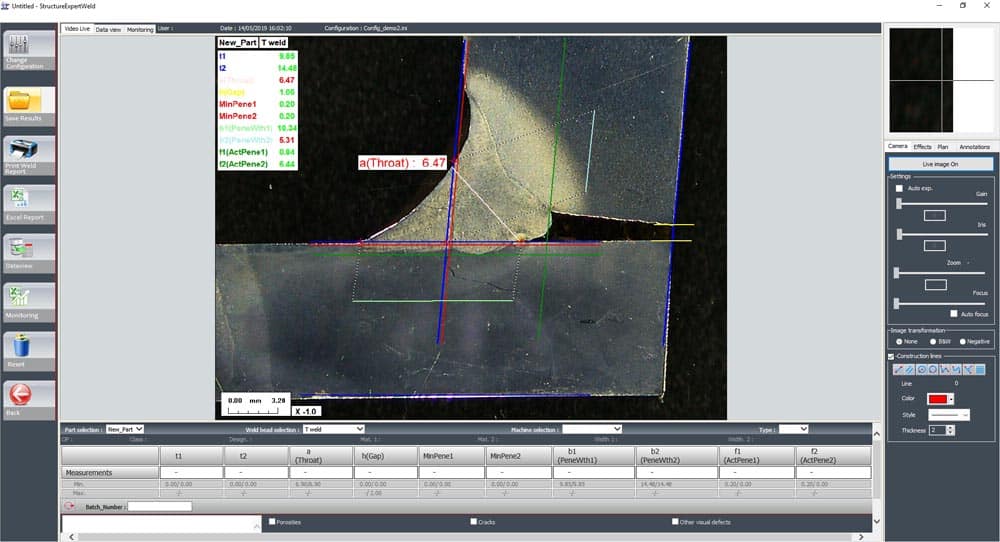
In the StructureExpert Weld (Welding Expert) software's measurement mode, the operator can access all of the parts that were created by the system administrator.
The user selects the part to be checked, the weld bead to be measured, and bead parameters are automatically loaded: required measurements, tolerances, measurement plane, etc.
The user does not need to deal with system calibration, since it is handled automatically, as is image focus (autofocus).
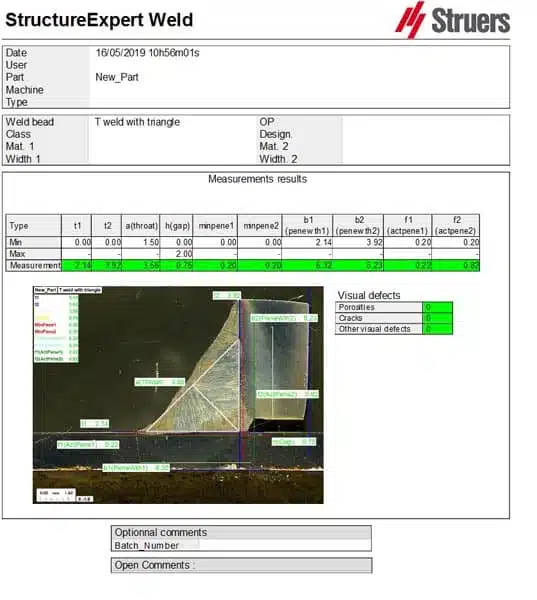
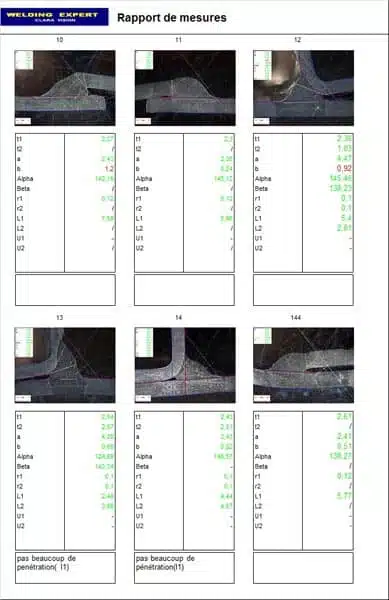
In a few clicks, the operator takes the measurements, results are compared to the predefined tolerances then automatically saved for use in a simple measurement report or a detailed 'part' report.
Detailed, customised reports
"Measurement" mode can also be enhanced with optional modules, making StructureExpert Weld (Welding Expert) even more powerful.
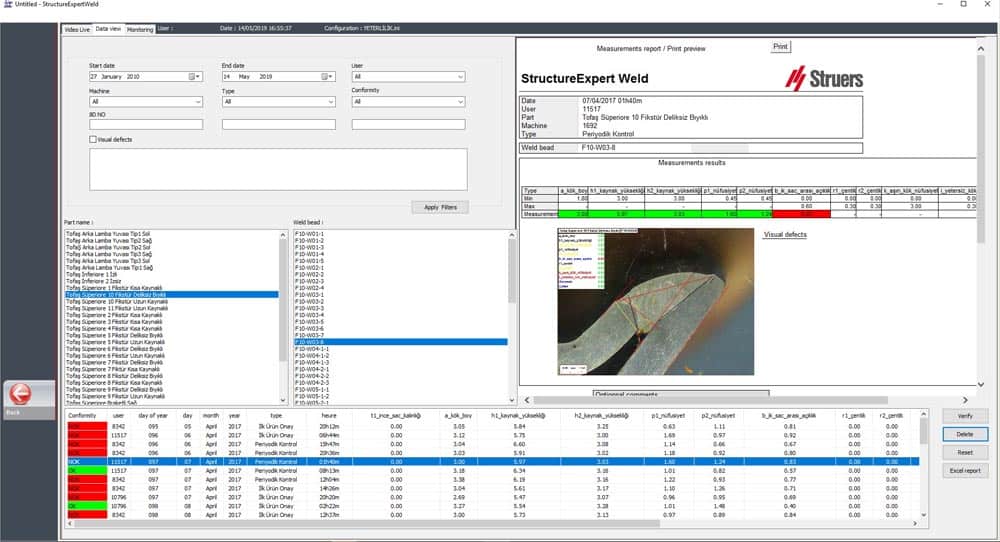
The StructureExpert Weld (Welding Expert) software's optional "Dataview" module allows you to track measurements that are carried out on a daily basis.
Results are filtered by date, part, user, compliance level, etc. and the measurement report is displayed immediately.
The "Dataview" module also allows you to edit operator measurements, rectifying any errors that might exist.
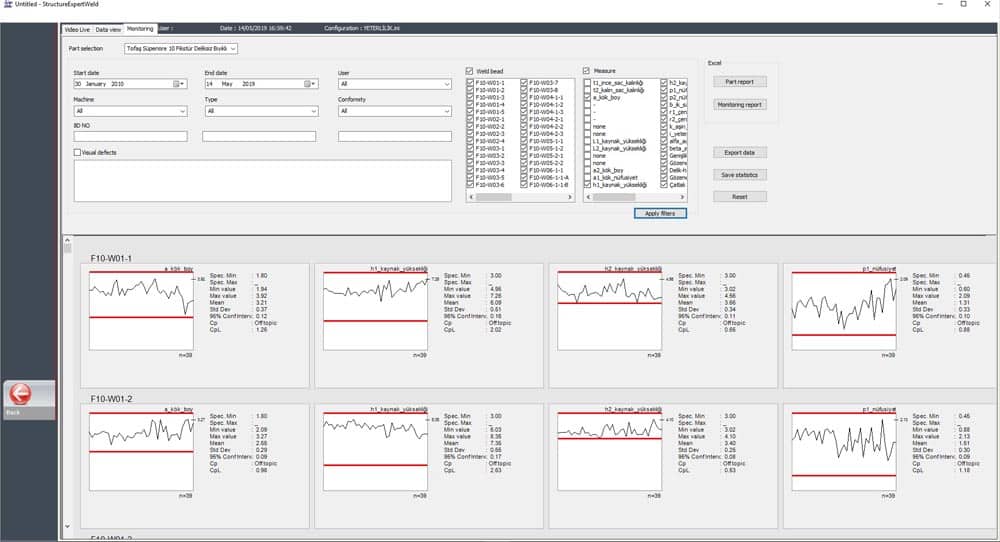
The StructureExpert Weld (Welding Expert) software's optional "Monitoring/process tracking" module enables you to keep track of your welding process over time.
It's totally straightforward. In a few clicks you will see all of the key process data: Cp, Cpk, CpL, CpU, etc... This data can be sorted by date, part, weld, measurements, OK/NOK, etc.
The "Monitoring/Process Tracking" module is a real SPC tool.
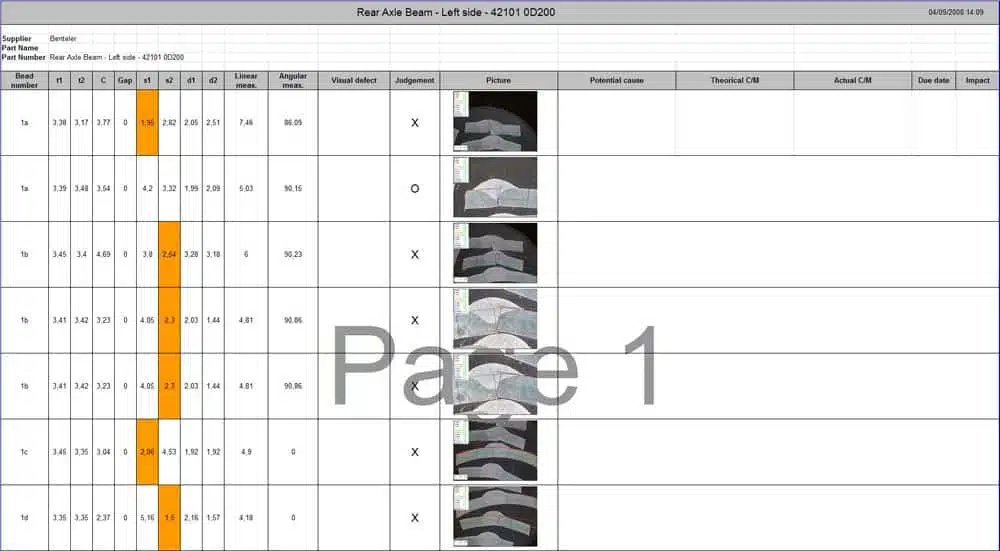
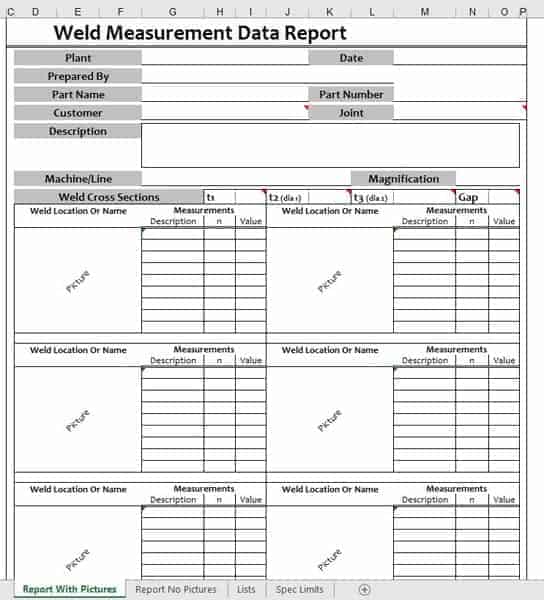
In addition to the report templates provided as standard with the StructureExpert Weld (Welding Expert) software, the optional "Report Generator" module enables you to create a customised Excel report, quickly and easily, without having to use complicated tools.
Just a few clicks and your images, measurements, tolerances, etc. are merged with the Excel report template.
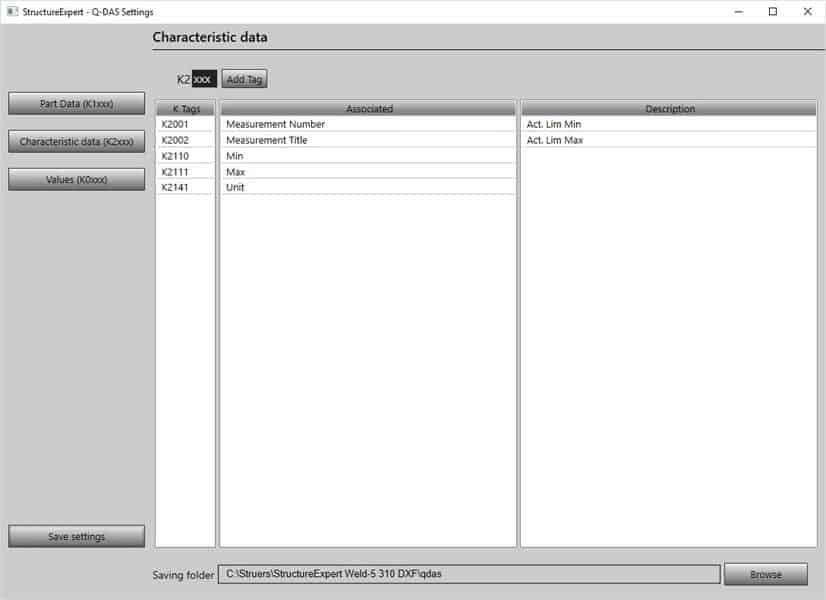
The StructureExpert Weld (Welding Expert) software's optional "Qdas" module enables you to automatically save your weld bead measurement results in .dfq (Qdas) format.
Output files can be imported directly into the Qdas statistical tracking software.
A configuration tool enables you to match the fields and results in the StructureExpert Weld (Welding Expert) software to the Qdas K tags, ensuring complete compatibility with the data structure in your Qdas software.
